
44
Stepping into a historic boutique hotel, an antebellum bed-and-breakfast, or a vintage mountain lodge offers undeniable charm. High ceilings, original hardwood floors, and ornate architectural details create an atmosphere modern chain hotels rarely replicate. But as evening approaches and you unzip your medical travel bag, that nostalgic charm often reveals a glaring modern deficit: electrical infrastructure designed in an era long before personal medical electronics existed.
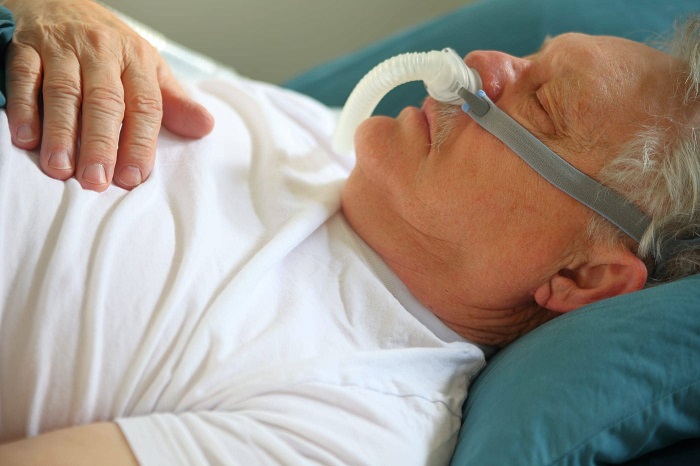
For sleep apnea patients who depend on continuous positive airway pressure (CPAP) therapy, power is non-negotiable. Skipping a night of therapy can trigger chronic fatigue, cognitive fog, and cardiovascular stress.
Yet in older structures, finding a reliable three-prong outlet within arm’s reach of your pillow is often an exercise in frustration. Sockets are frequently spaced twenty feet apart, hidden behind massive mahogany armoires, ungrounded, or wired to erratic wall switches. Transforming a charming vintage room into a functional, safe sleeping environment requires anticipating these electrical quirks and carrying the right hardware to bridge the gap.
The Architectural Reality of Vintage Electrical Wiring
Modern building codes require electrical receptacles every twelve feet along walls and within convenient reach of beds. In properties built before the mid-twentieth century, electrical systems were added as an afterthought. Rooms were wired under the assumption that a guest would plug in only a single floor lamp, an electric fan, or a small radio.
Consequently, historic properties present several unique hurdles for CPAP travelers:
-
Sparse Receptacle Placement: You may find only one or two outlets in the entire bedroom, often located near the bathroom door or along the baseboard on the wall opposite the bed.
-
Ungrounded Two-Prong Outlets: Many vintage homes and rustic cabins still feature ungrounded two-slot receptacles that cannot physically accept the three-prong grounded power brick supplied with most CPAP machines.
-
Worn Contact Springs: Decades of use stretch the internal brass spring clips inside older receptacles. When you plug in a heavy power supply brick, it sags outward under its own weight, causing intermittent arcing or losing contact entirely in the middle of the night.
-
The “Switched Outlet” Trap: To avoid installing separate overhead light fixtures, mid-century electricians frequently wired one half of a wall outlet—or the entire duplex—to a single wall switch near the entrance door.
Navigating the Switched Outlet Dilemma
There are few experiences more jarring than waking up at 2:00 AM gasping for air against a suffocating silicone mask because your CPAP machine suddenly lost power. In older accommodations, this almost always happens because someone hit a wall switch on their way to the bathroom, unwittingly killing power to the outlet running the machine.
Never assume an outlet provides constant current. Before unpacking your machine, conduct a proactive circuit audit:
-
Perform the charger test. Plug your phone or a small travel light into the target outlet.
-
Cycle every switch in the room. Walk to the room entrance and toggle the main light switches. Check bedside switches, bathroom thresholds, and auxiliary lamp toggles. If the charging indicator on your phone drops, that outlet is tied to the lighting circuit.
-
Check for split-wired duplexes. In many older US homes, the top outlet of a pair is switched, while the bottom outlet remains constantly energized (or vice versa). Test both sockets independently before settling on your power source.
If the only accessible outlet near the bed is switched, place a piece of painter tape or bright masking tape over the wall switch to physically prevent anyone from flipping it during the night.
Bridging the Gap: Cords, Gauges, and Cable Safety
The standard power cord supplied with medical machines typically measures between five and six feet from the wall plug to the external brick, with an additional three to four feet of low-voltage cable running to the unit. When the nearest outlet sits fifteen feet away on an adjoining wall, you have to create an extension bridge.
Never rely on the thin, brown, zip-cord style extension cords commonly found in discount drugstores. Modern CPAP machines equipped with heated humidifiers and heated breathing tubes draw considerable wattage during warm-up cycles—often between 80 and 100 watts. Running sustained electrical loads through an undersized 18-gauge household cord can lead to dangerous resistance, localized heating, and voltage drops that trigger machine error codes.
Pack a dedicated 14-gauge or 16-gauge heavy-duty extension cord measuring at least ten to fifteen feet. Look for cords featuring a low-profile, right-angle flat plug. This design allows you to plug into tight spaces behind antique headboards and heavy dressers without bending the wire or shoving furniture out of place.
Running a cord across open hardwood flooring introduces a severe tripping hazard in a dark, unfamiliar room. Pack a compact roll of residue-free gaffer tape. Unlike duct tape, which leaves stubborn gummy adhesive on historic varnish and finishes, gaffer tape adheres firmly to wood, tile, and carpet, releasing cleanly upon departure. Pin your extension cord firmly along baseboards, door frames, or around the perimeter of area rugs to eliminate nocturnal trip hazards.
Never run extension cords beneath heavy wool rugs or mattresses. Trampling on covered cords damages internal copper strands, and heat trapped beneath thick floor coverings creates a genuine fire hazard.
Bedside Geometry and Rainout Prevention
Electrical distance is only half the battle; where you place the machine relative to the bed matters just as much. Older rooms frequently lack wide, stable nightstands, offering instead narrow pedestal tables, decorative trunks, or zero bedside surfaces whatsoever.
Your CPAP unit should sit slightly lower than the level of your head on the pillow.
This positioning relies on gravity to manage thermodynamics. When warm, humidified air travels through your tubing into a cool, drafty room—a common condition in historic inns with single-pane windows—the moisture condenses into liquid water inside the tube. This condensation is known as rainout.
If the machine sits above you on a tall antique headboard or high dresser shelf, condensed water pools and drains downward directly into your nose and mouth, causing choking. If the machine is positioned below head level, condensed droplets flow safely back down the tube into the water chamber.
If the room lacks a suitable low nightstand, improvise a stable surface:
-
Use a luggage stand: Adjust a folding wooden luggage rack to its lowest setting and position it alongside the mattress.
-
Repurpose an upside-down wastebasket: A sturdy, flat-bottomed plastic or metal trash can turned upside down next to the bed provides a clean, stable platform that keeps the air intake off dusty carpets.
-
Deploy a travel tray: A rigid plastic serving tray or stiff packing organizer laid flat on the floor keeps the machine stable and prevents it from pulling loose carpet fibers into the fine-mesh air intake filter.
The Essential Vintage Accommodation Electrical Kit
Navigating older properties with confidence requires assembling an emergency hardware kit that stays permanently inside your travel bag:
-
A Grounding Adapter (Cheater Plug): Carries two prongs with an integrated grounding lug, allowing connection to older two-slot receptacles when three-prong access is nonexistent.
-
A Multi-Outlet Tap or Non-Surge Power Strip: Crucial for splitting a single working outlet between your machine, a bedside lamp, and your phone charger. Always use non-surge protected strips, as older wiring with ungrounded floating neutrals can damage sensitive surge circuitry.
-
Receptacle Snuggers: Tiny plastic shims or rubber grip sleeves that fit over plug prongs, adding mechanical friction to keep heavy plugs from falling out of loose, worn sockets.
-
A Mini LED Flashlight: Essential for inspecting dark, tight gaps behind historic furniture without blindly feeling around live electrical boxes.
Staying in unique, historic accommodations does not have to come at the expense of your health or sleep quality. By carrying an adaptable electrical kit, verifying your circuits before turning in, and arranging your bedside space with thermal physics in mind, you can enjoy the architectural character of any older property while ensuring steady, uninterrupted therapy throughout the night.